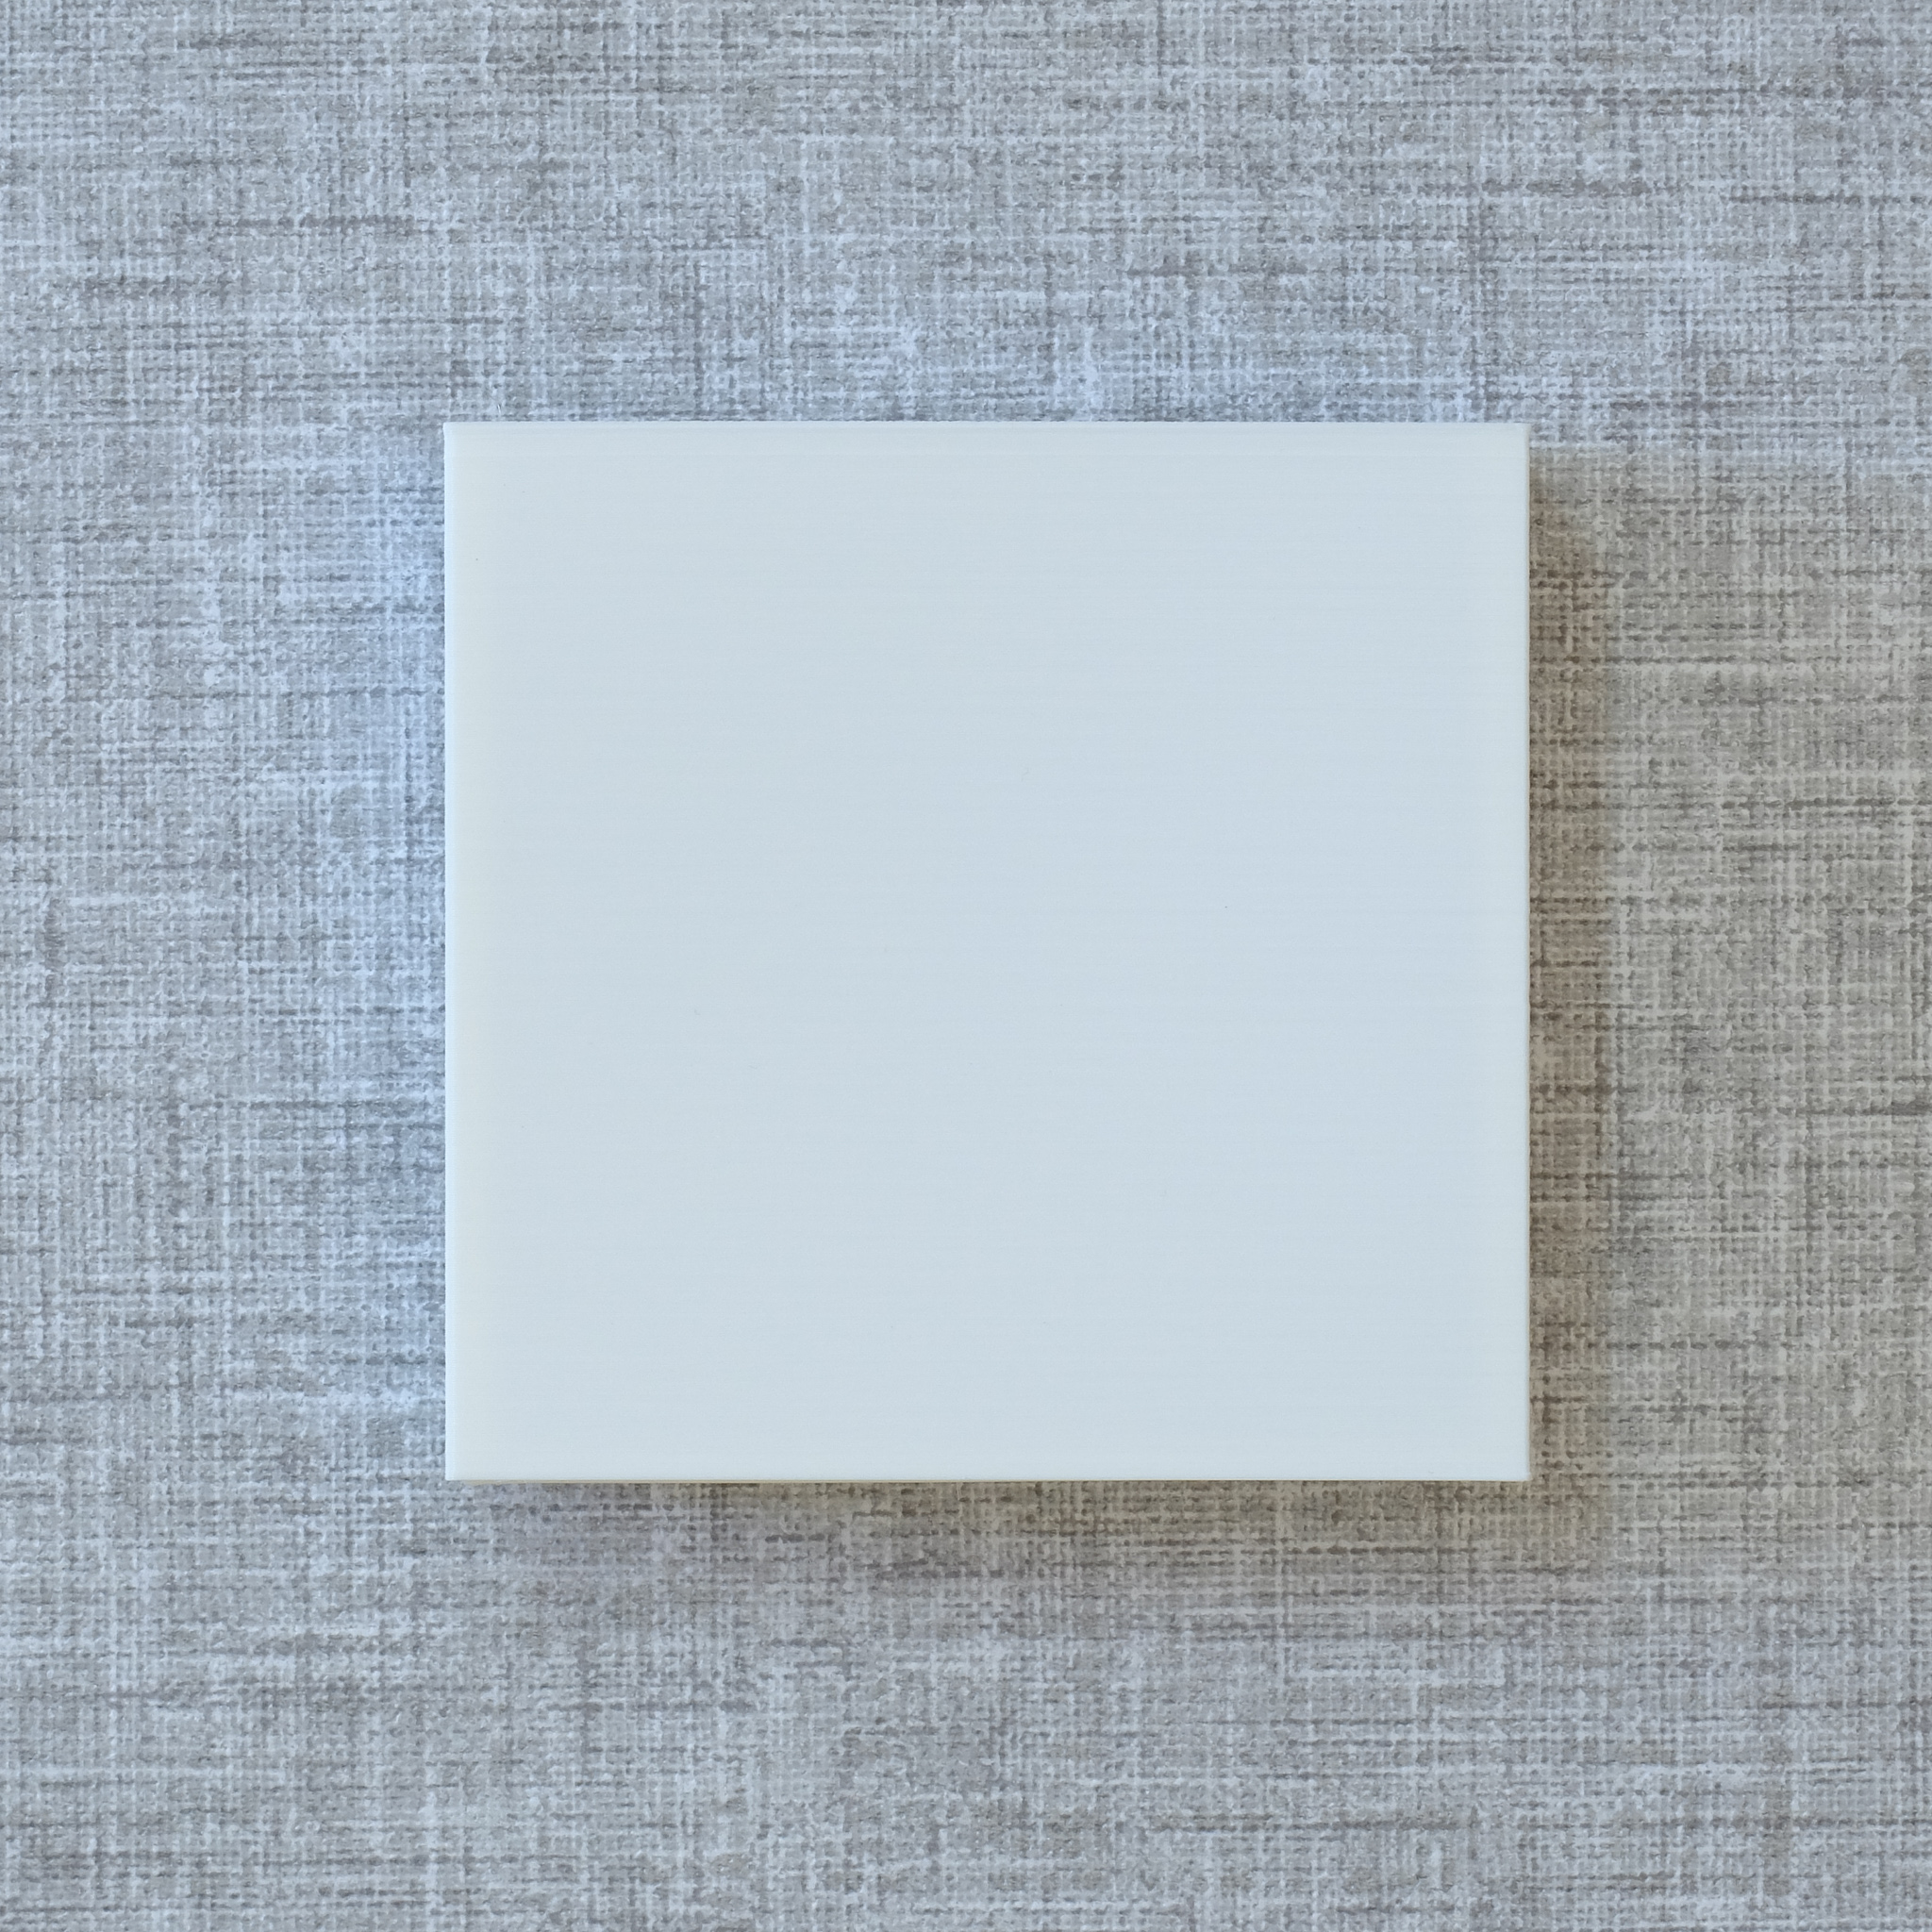
There are two main methods of introducing Smart Lighting into your home. The first contains the ‘smarts’ within the lamps/fittings and the second within the switches themselves.
In the UK, there is typically no neutral running to the switch so our choices are reduced further. Whilst there are ‘no neutral’ smart switches available, they generally work by keeping the circuit ‘slightly live’ which can cause havoc with some forms of lighting.
So, the majority of UK Smart Home fans will typically stick to using smart bulbs or place things like Sonoff or Shelly switches within existing light fittings.
In addition, there are many home automation enthusiasts who rent their properties. Replacing light switches or adding other gadgetry to the house wiring would be a big no no!
This approach introduces its own problems. Those devices are only smart if they have power and it’s difficult (for some) to get out of the habit of flipping a physical light switch. If like me, you have most of your lighting automated via presence, movement or time, flipping a switch destroys that automation in one fell swoop!
A number of Smart Home Youtubers advocate joining wires and bypassing switches but I cannot condone that approach. What if you are moving house? Are you really going to remember which switches you bridged? I also like the ability to be able to turn off a set of smart lights for maintenance/replacement without having to plunge the whole house into darkness! I just wanted to add an extra layer of thought to that ‘switch flipping’ process by adding some sort of barrier between the ‘flipper’ and switch.
Consulting the Internet oracle of choice revealed a lot of rather tacky looking devices stuck on with bits of double-sided foam tape. These looked crap and would not be approved by the chief switch flipper.
So, I had to come up with my own design in order to achieve what was required and keep everyone happy. That’s the beauty of 3D printing. You can come across a problem and produce a solution.
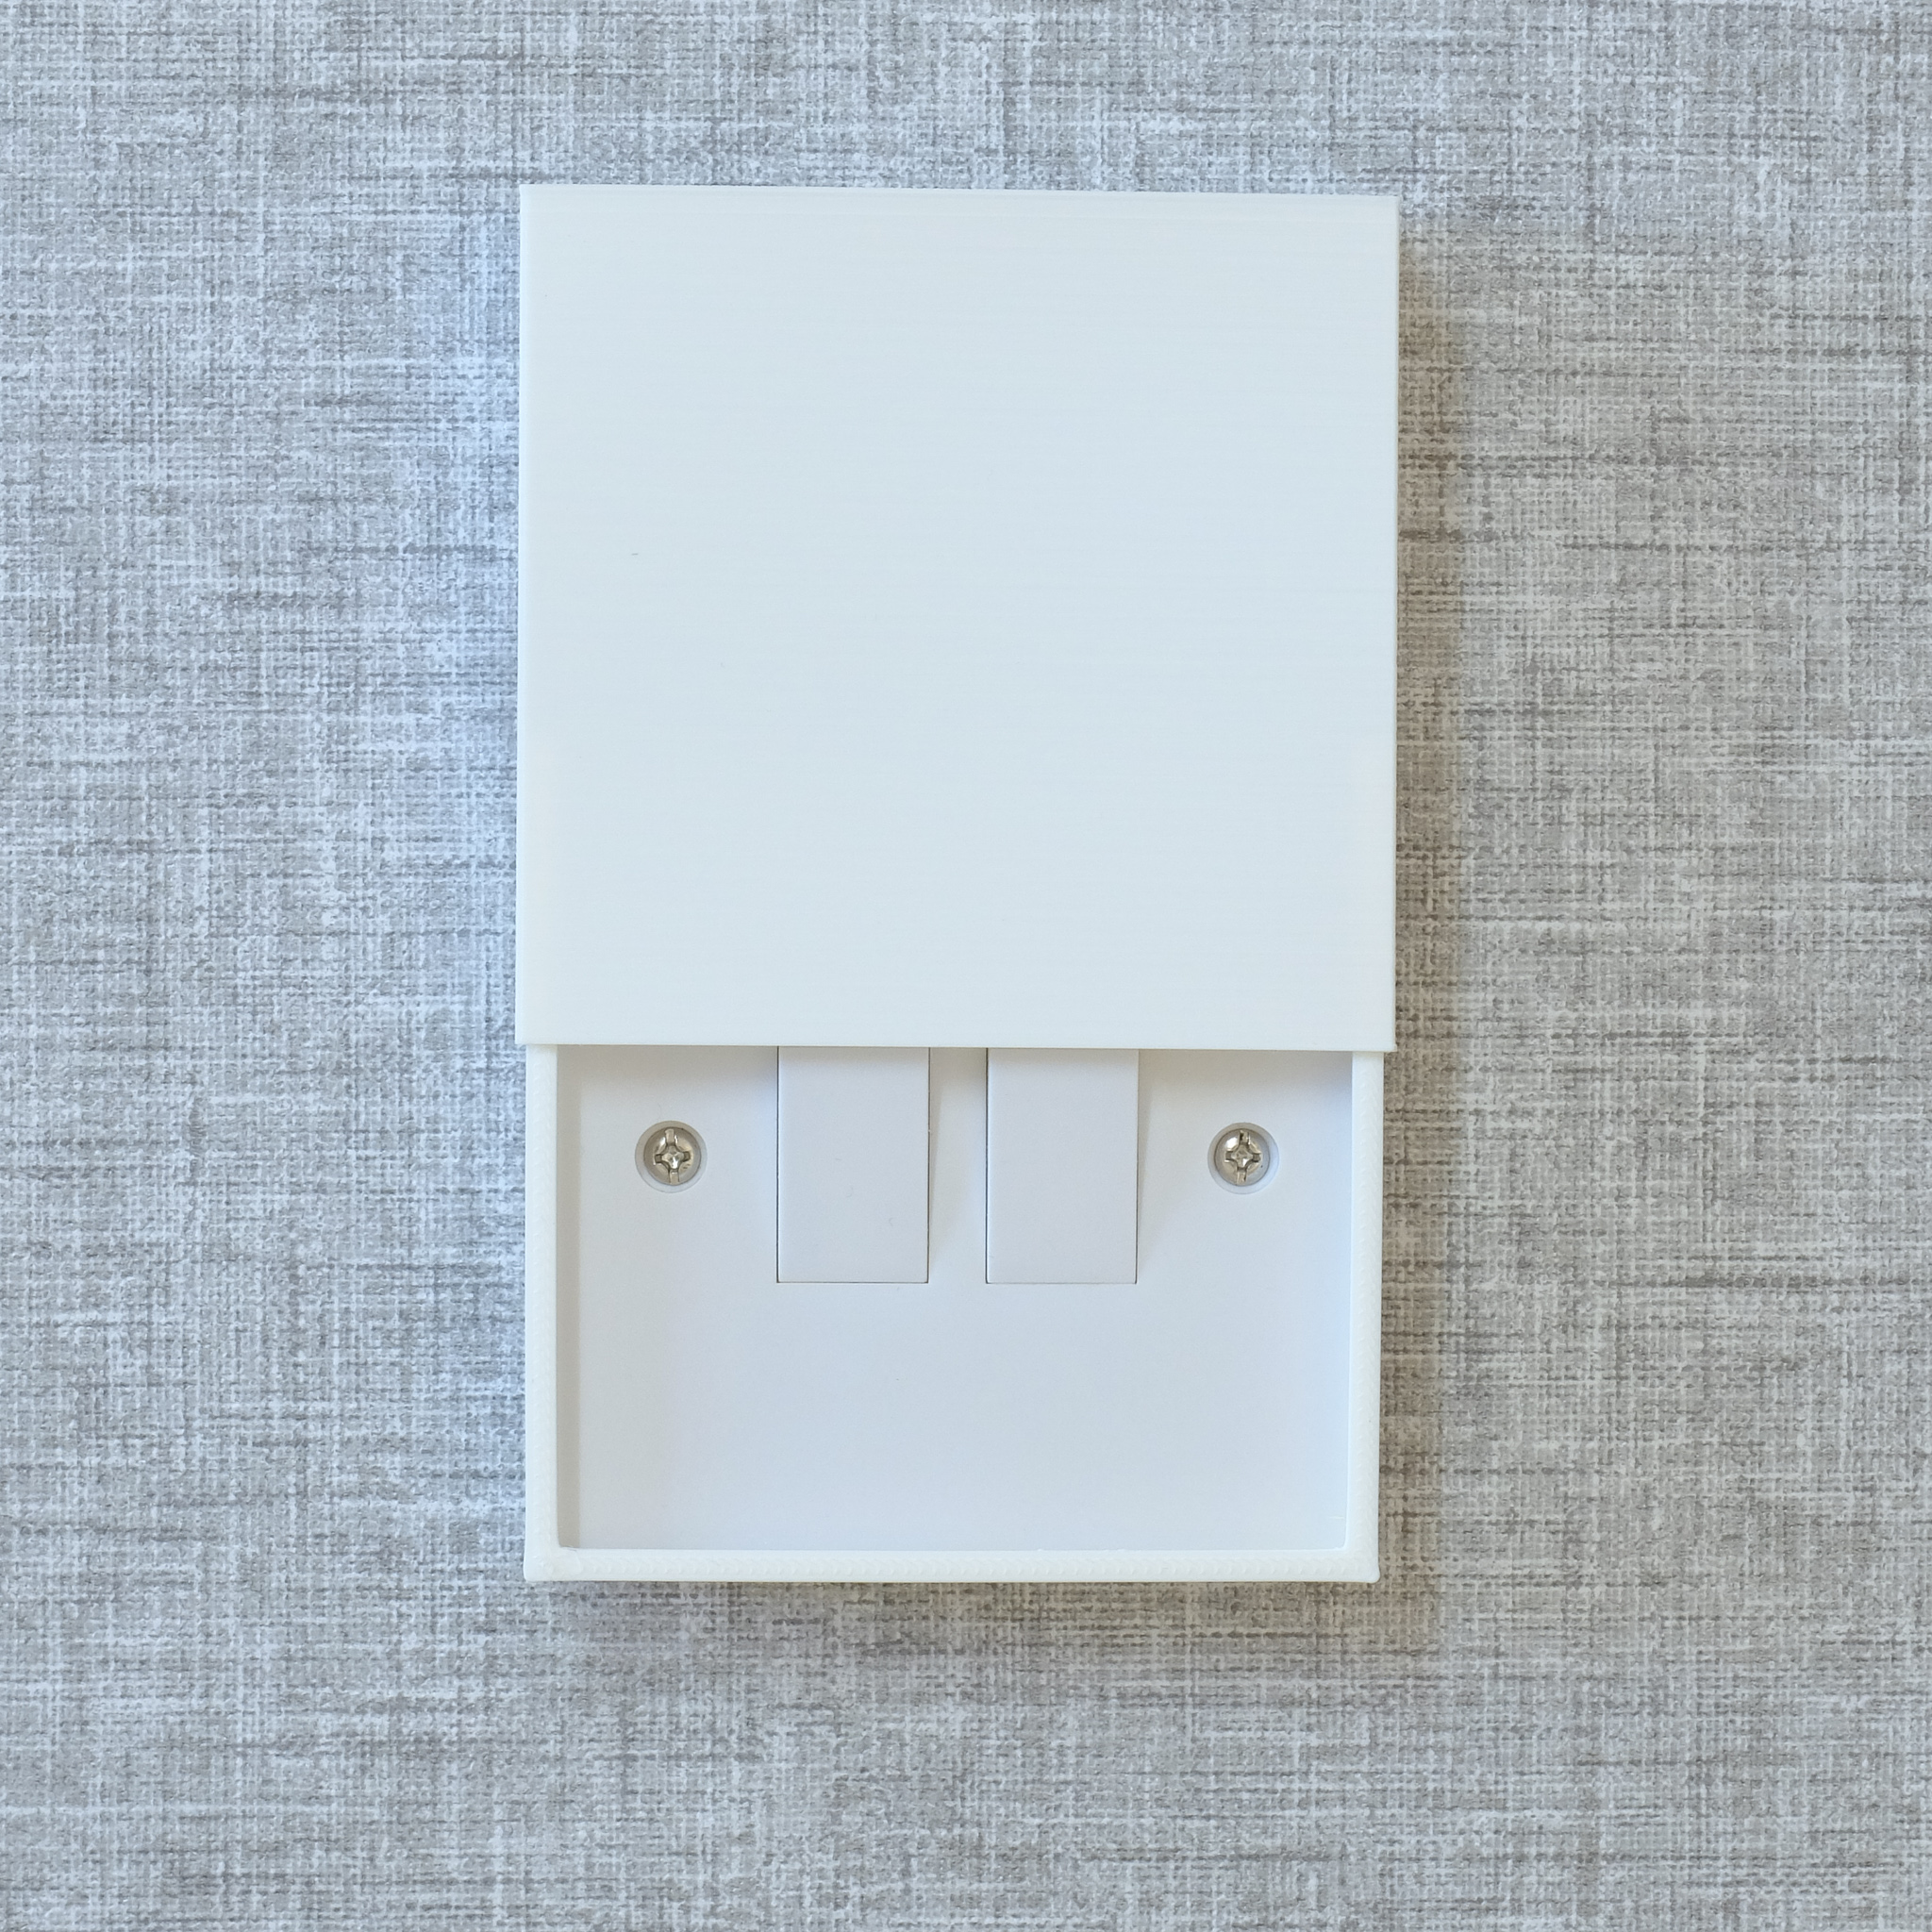
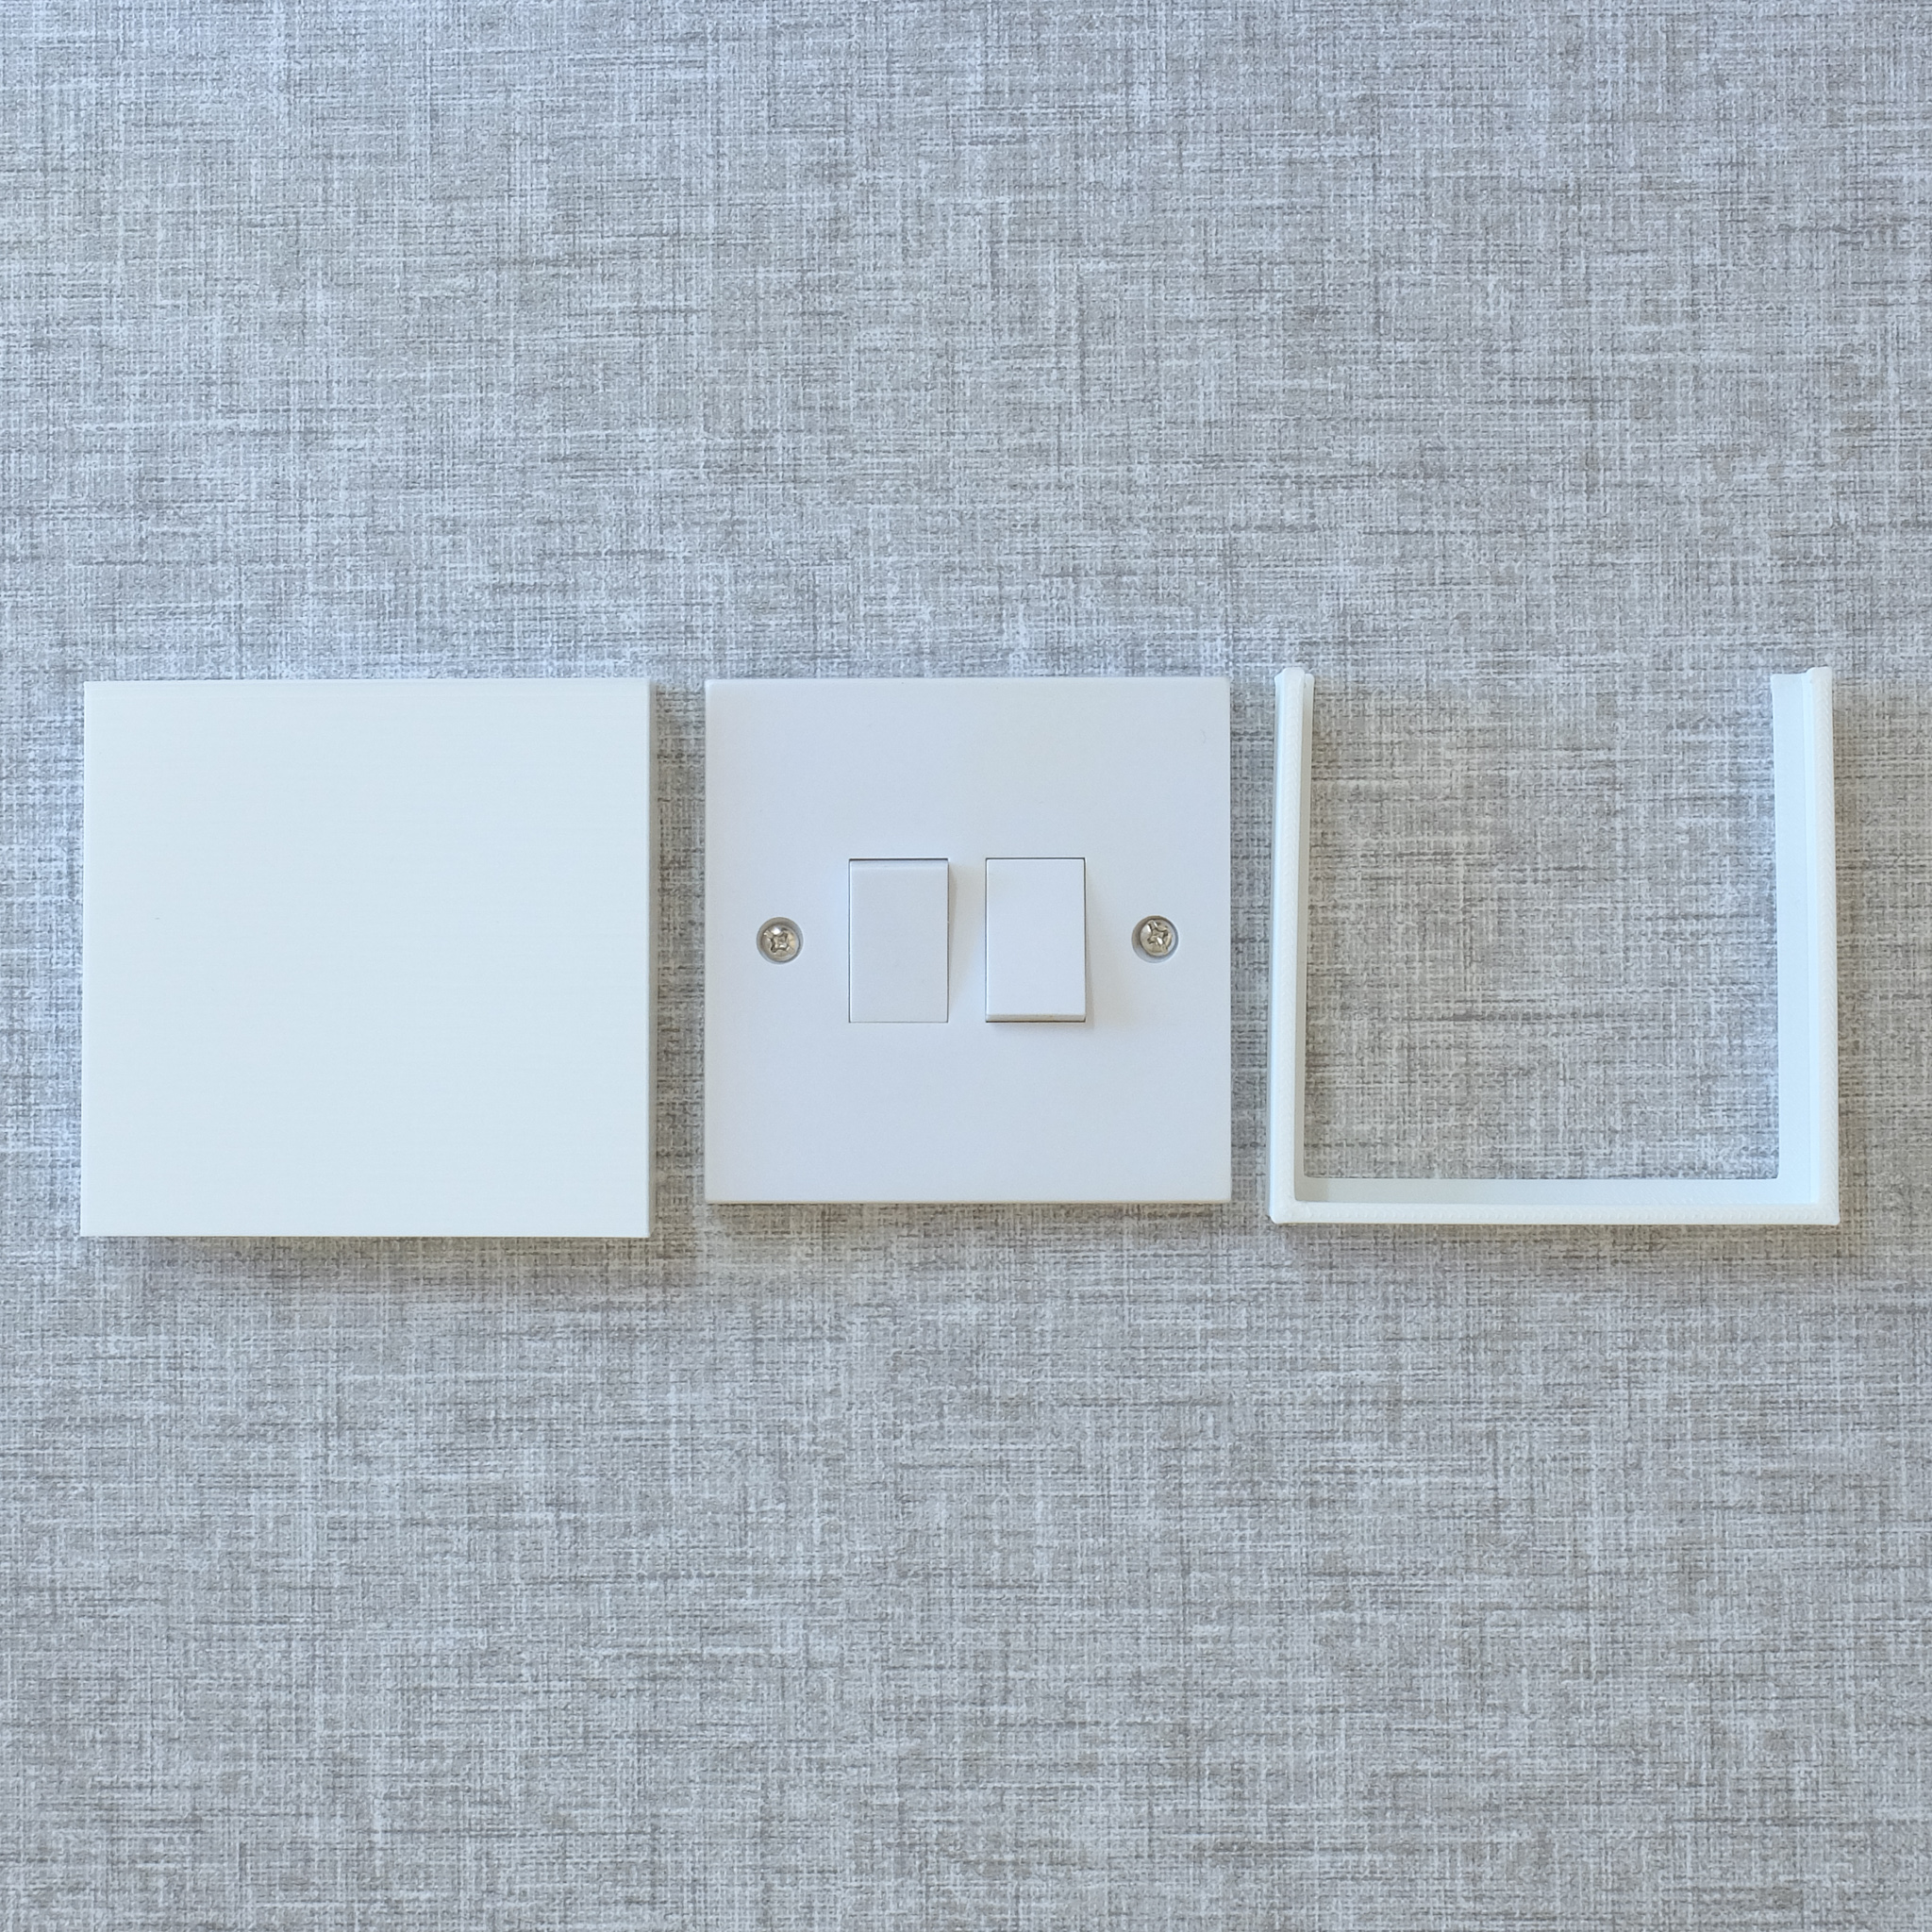
It’s a simple, two-part approach requiring no glue/tape or any other form of adhesive. It’s dead easy to fit. All you need is a screwdriver and a couple of minutes.
Fitting:
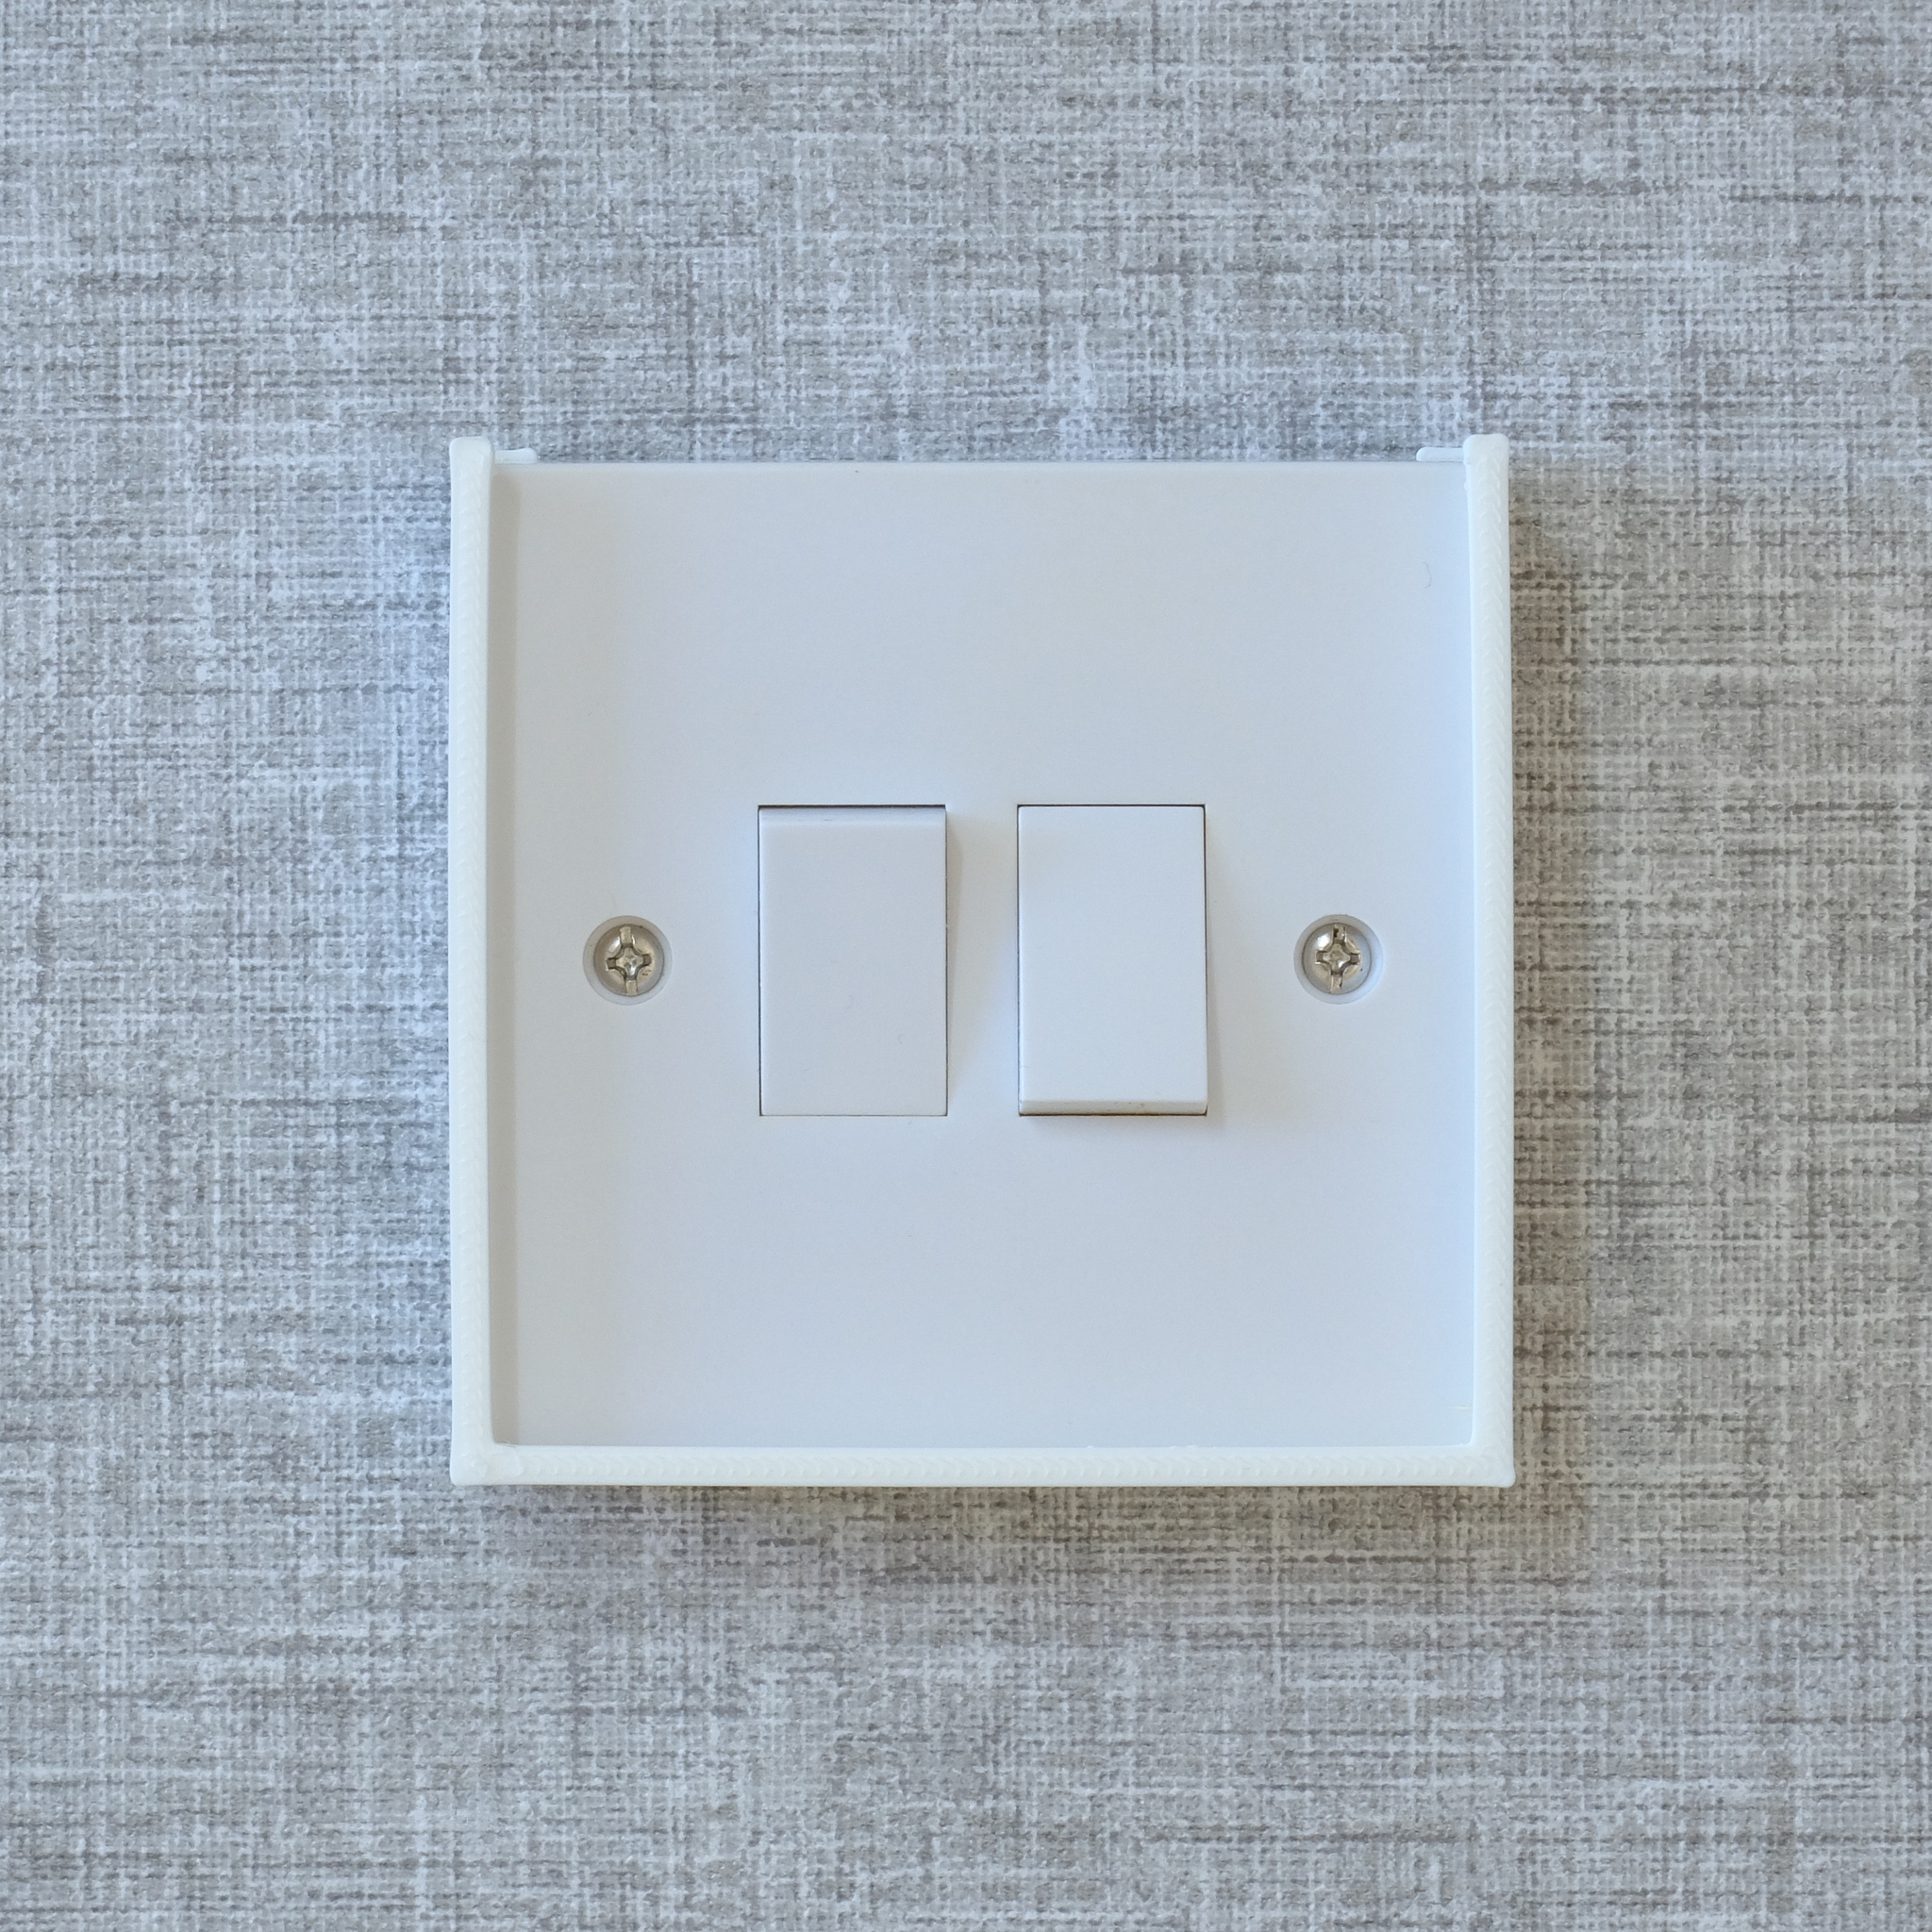
- Slightly loosen the screws on your light switch (you only need 1mm of clearance between switch and wall).
- Slip the rear frame up from below.
- Tighten screws (make sure the thing is straight to avoid instant disapproval).
- Slip on the front cover from above.
Result:
- There is a barrier between ‘flipper’ and switch.
- Said barrier can be easily removed if physical flipping needs to be done.
- It doesn’t look like someone has glued a random scrap of plastic on your light switches!